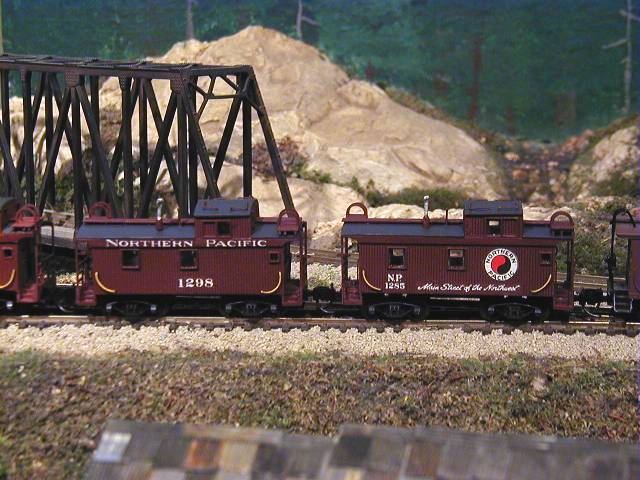
There had been a couple cabooses made in the past that had been painted for the Northern Pacific, but upon comparing with photos, they all turned out to be very different than actual NP models. I have a thing for cabooses, so I decided to make one that looked better to run with my W3 Class Mike. Thus was born the 24' Wood Caboose Project.
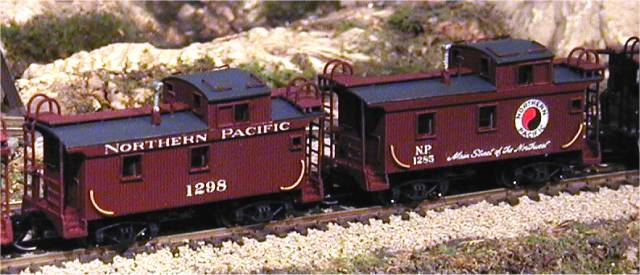
I wanted to have a couple different paint schemes on these, the 1200 series
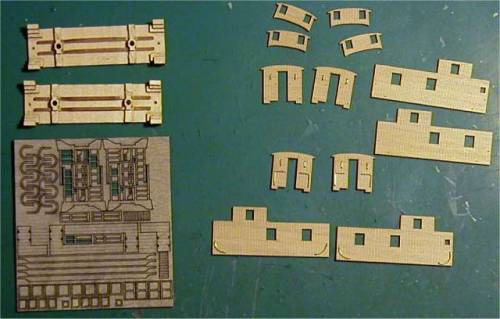
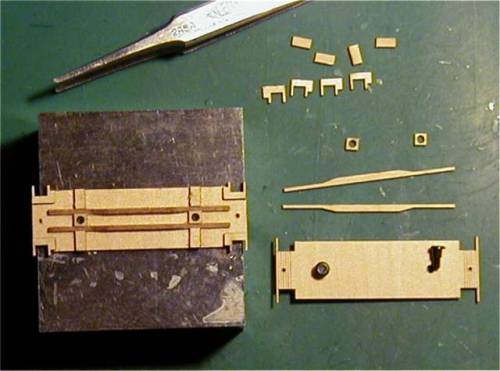
Here are the laser cut parts. I used regular white glue for most of the construction, and CCA glue for the wire parts.
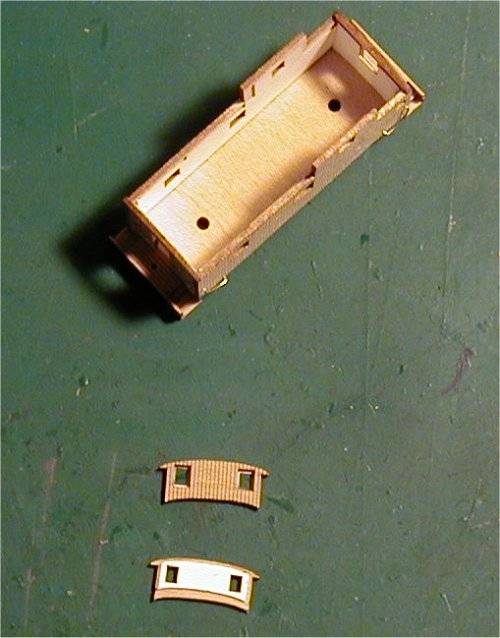
Using a hobby knife to carefully remove parts from the sheet, I pushed bolster pins down from the top of the floor so my bolster parts will be properly aligned. I glued the layer 1 parts to the underbody. I use squared machinist blocks for most of my projects so I can get square butt joints.
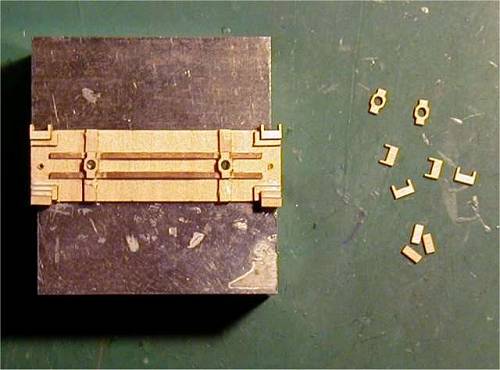
Next I Glued the layer 2 and 3 parts in place. The steps are formed this way, as well as placing the bolsters to the correct height so everything will match the MT Coupler Height Gauge.
Next I formed grabs out of brass wire, and glued to the sides and ends with CCA. I had pre burned holes where all the grabs go, but they needed the charcoal to be cleaned out with a #80 drill. Glue was applied from the backside, and after it dried, I lightly sanded the CCA buildup flat.
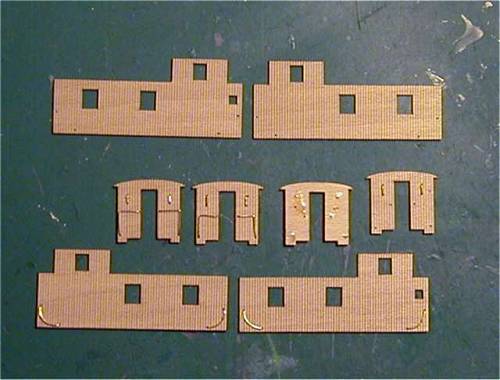
Next I glued the sides and ends in place. Work goes fast with white glue, because it dries in about 30 seconds, being sponged into the wood. I glued the paper inlays inside also at this time. The inlays have cutouts for windows that are just a little smaller than the window openings so you can apply the window glass after painting and decaling.
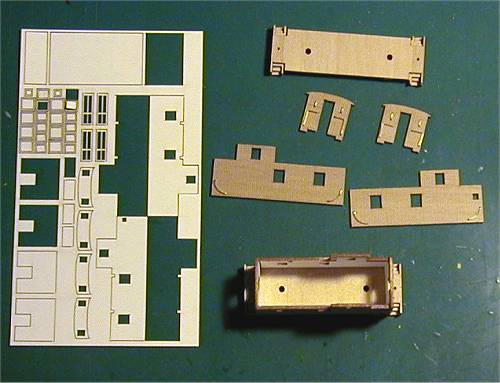
I centered the inlays in the window cutouts so there is a frame all around the window openings. I also glued the inlays to the cupola ends at this time.
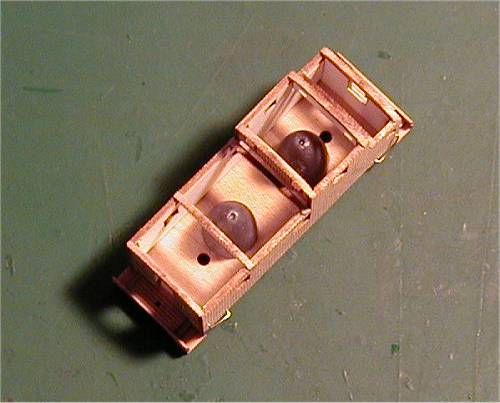
Next I glued a couple sinkers in for weights. I got a clue later on, and pounded the sinkers flatter with a hammer do they would not be visible through the windows. I also glued the cupola ends and roof braces in at this time.
Then I glued the cardstock roof parts in place, and all the details from the details sheet. I glued little sticks to the roofwalk undersides, window frames, ladder ends, etc.
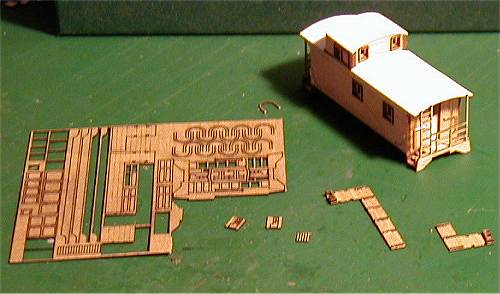
Next I assembled the brake wheels and applies them as well as formed cupola grabs and applied them. I also added the cardstock backs to the lower parts of the doors. I glued the smoke jack in place, and the model is ready to paint and decal. Don't apply the doors before painting.
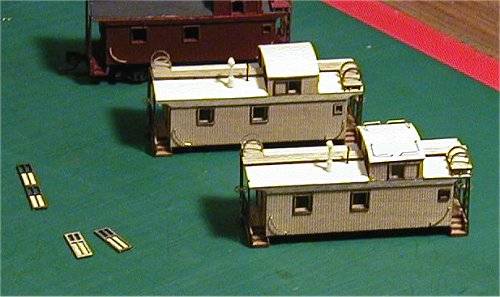
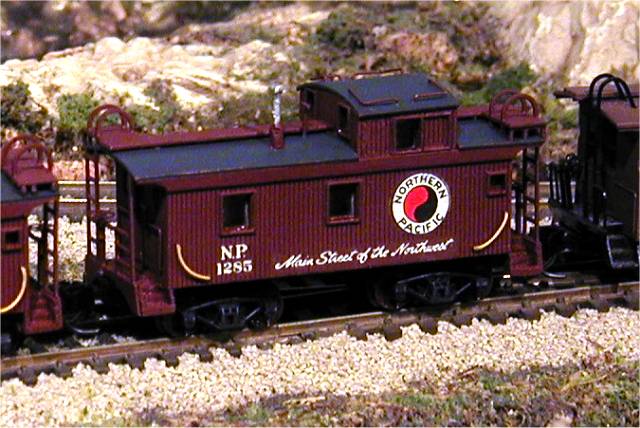
I painted my cabooses Mineral Brown, the roof grimey black, and the underframe engine black. The top half of the smokejack is old silver, and I decaled them for pre-radio equipt models. After sealing the decals with flat finish, I glued the window glass in all the windows and doors, then installed the doors. I used MT couplers, and some other old trucks I had, with MT Low Profile wheels.